A gas range combines an oven and cooktop in one appliance, so mistakes in installation can affect both gas safety and everyday use. Before touching the gas line, confirm that work on fuel piping and appliance connection is permitted under local building and fuel-gas codes in your area. For regions governed by national standards, always consult the requirements of the CSA B149.1 Fuel Gas Installation Code. Where your model’s installation guide and this overview differ, the manufacturer’s instructions and local regulations always take priority.
Use only certified components: a flexible connector approved for domestic gas appliances, a shutoff valve rated for the gas type, and fittings compliant with current standards. Check the rating plate on the back or inside the door to confirm the appliance fuel type and pressure.
Do not continue with self-installation in the following situations (contact a licensed gas fitter or qualified technician instead):
- You need to extend, reroute, or repair the fixed gas piping to reach the range.
- You are converting the appliance between natural gas and propane using a conversion kit.
- You smell gas and cannot immediately isolate and ventilate the area.
- Local rules require permits or inspections for gas appliance work.
Preparing Kitchen Space for Range Installation
Plan the path from the entry to the kitchen before delivery. Measure door widths, stair landings, and tight corners so you know whether doors, handles, or railings need to be removed. Protect finished flooring with non-slip runners and clear nearby drawers and doors so the range can pass without scraping cabinets.
At the final location you need three essentials within reach of the appliance connections: a manual gas shutoff valve, a grounded 120-volt receptacle for ignition and controls, and a path for effective ventilation above the cooktop. If you are replacing an electric range, confirm that a gas branch line with a working shutoff already exists in the cabinet or wall cavity.
Gather all tools and materials before you start so the appliance does not sit partially installed:
- Spirit level, tape measure, and flat, non-compressible shims for levelling.
- Adjustable wrenches sized for the valve, fittings, and connector nuts.
- New flexible gas connector sized for the appliance input, certified for residential gas use.
- Approved pipe thread sealant for tapered pipe threads, and a ready-made leak-detection solution or mild soap mixture.
- Plug-in outlet tester for confirming polarity and grounding.
Place the range carton near the opening, unbox it carefully, and keep corner protectors, small hardware bags, anti-tip bracket, and any rear filler or trim pieces in a labelled container so nothing is misplaced.
Measure Cutout And Confirm Clearances
Cabinets and walls are rarely perfectly square, so measure the opening at several points. Check width at countertop level and at the floor, depth from front edge to wall, and height to the bottom of any cabinet or hood above the cooking surface. Compare each dimension with the installation diagram supplied with your exact model.
Use a simple table to confirm that the opening meets or exceeds the minimum requirements from the product documentation. Typical minimums for a standard 76 cm (30 in.) range are shown below for reference; always check your own manual.
| Parameter | Typical Minimum Value |
|---|---|
| Opening width | 76.2 cm (30 in.) |
| Countertop depth to wall | 60.0 cm (24 in.) |
| Side clearance to combustible surfaces | 1.3–2.5 cm (0.5–1 in.) each side |
| Clearance above cooking surface to hood | 61–76 cm (24–30 in.) |
| Clearance above cooking surface to cabinet | 76 cm (30 in.) or as specified |
Confirm that no electrical outlet, junction box, or shutoff valve sits exactly where the rear of the range body will rest. The manual gas shutoff must remain accessible after installation; if it would be hidden behind fixed panels once the appliance is pushed back, plan to relocate it to a neighbouring cabinet.
Open adjacent drawers and doors fully and check that handles will not collide with burner knobs. Ensure there is enough space in front of the range to remove the oven door for cleaning and service without hitting an island or opposite cabinet run.
As a quick readiness check, you can record key site conditions in a small table before moving the appliance into place:
| Item | Target Condition | Ready? |
|---|---|---|
| Manual gas shutoff within reach | Valve reachable without removing the range | Yes/No |
| Grounded 120 V receptacle | Within cord length and not behind hot parts | Yes/No |
| Floor under range | Solid, level or easily shimmed | Yes/No |
| Clearance to cabinets and hood | Meets or exceeds manual | Yes/No |
Position, Level, And Secure The Range
Install adjustable legs or rollers according to the manufacturer instructions and set them roughly to mid-height. With two people, move the appliance into the opening just far enough that the back is still accessible for gas and power connections. Guide the flexible gas connector so it does not kink or rub against sharp edges.
Place the spirit level on the cooktop surface from left to right and front to back. Adjust the feet until the bubble is centred in both directions. A slight tilt towards the back is acceptable so the oven door tends to close by itself, but the oven cavity should be as level as possible for even baking. Confirm that all cooktop grates sit flat and do not rock; if they move, re-check the floor and leg adjustments.
Fit the anti-tip bracket using the template or measurements provided with the range. Fasten it into a solid floor or wall surface with the specified screws. Slide the range carefully into position until the rear leg engages the bracket. Pull gently on the upper rear area of the appliance to confirm that it does not tip forward. This step is essential to prevent the range from tilting if someone leans on the open oven door or loads heavy cookware on it.
Align Doors And Racks
Open and close the oven door several times. The motion should be smooth, with an even gap along the door gasket and no scraping on the sides. Install oven racks and verify that they sit level, do not bind in the side supports, and can be moved in and out without catching. If racks do not sit evenly, correct the appliance level rather than forcing hinges or bending hardware.
Connect Gas, Power, And Ventilation
With the appliance still slightly forward, close the shutoff valve and attach the flexible gas connector to the valve outlet and the appliance inlet. Use an approved pipe thread sealant on tapered pipe threads only, as specified by the connector manufacturer. Do not use sealant or tape on flare fittings; those seal on the metal surfaces when properly tightened.
Route the connector in a smooth curve with generous radius, avoiding sharp bends, torsion, or contact with drawer hardware. Confirm that the appliance regulator is in place, oriented in the correct flow direction, and remains accessible for future pressure checks. Do not remove or bypass the regulator; it stabilises burner output when other gas appliances turn on and off.
Plug the power cord into a grounded 120-volt receptacle. Use a plug-in outlet tester to verify correct hot, neutral, and ground configuration. Incorrect polarity or missing ground can lead to nuisance faults in ignition and control electronics.
If you are installing or upgrading a range hood, follow the hood manufacturer’s instructions for duct diameter and length. Keep the duct as straight and short as practical, with smooth metal sections and sealed joints. Terminate outside with a backdraft damper to prevent cold air and pests from entering. A deeper hood often captures steam and smoke more effectively, allowing lower fan speeds and reduced noise while still clearing the air.
Testing and Commissioning the New Gas Range
Once gas and power are connected, slowly open the manual shutoff valve. Apply leak-detection solution to every joint you assembled: valve outlet, connector nuts, union fittings, and regulator connections. Watch each point for at least a minute. If you see bubbles forming, close the valve, release pressure, remake the joint, and repeat the test. Do not use an open flame to check for leaks.
After confirming that all joints are dry, slide the range to its final position while watching that the connector and power cord do not snag or pinch. Reconfirm that the rear leg is fully engaged in the anti-tip bracket.
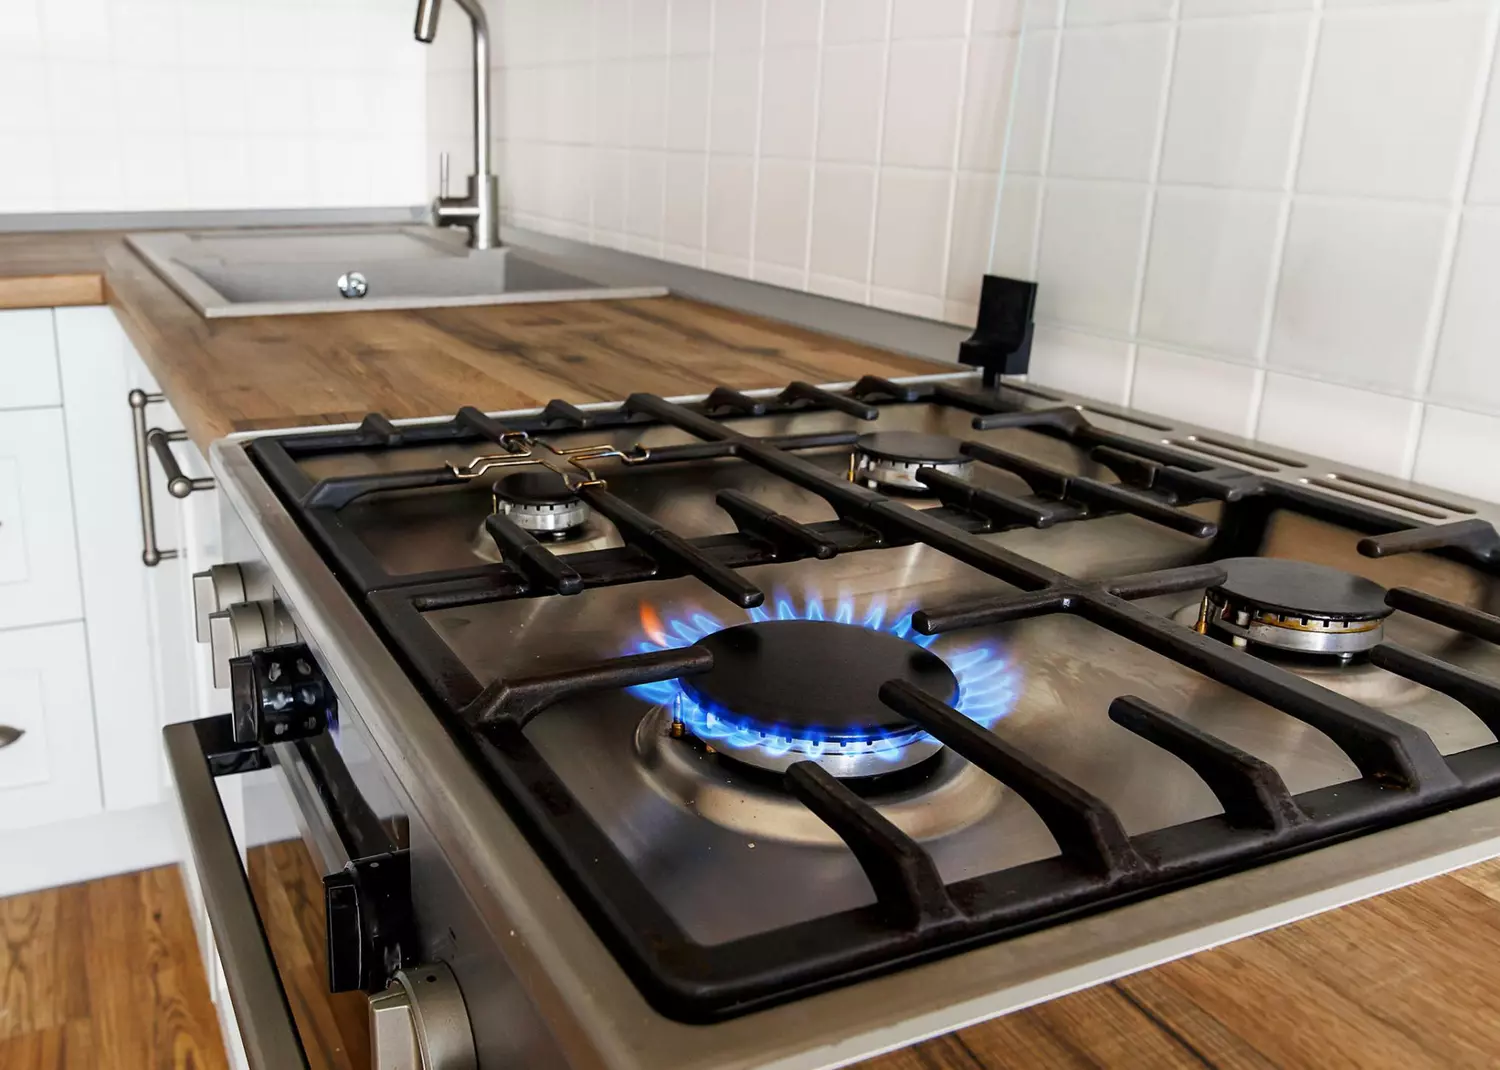
Power up the control panel and set the clock so timed functions operate correctly. Light each surface burner in turn. You should hear a brief clicking sound from the igniter and then see a stable blue flame with clearly defined inner cones and minimal yellow tips. Turn each knob from high to low and back again to confirm that the flame stays lit and does not lift off the burner ports. If flames blow off, pulse, or show heavy yellowing even after a warm-up period, stop using the range and arrange for a qualified technician to check gas pressure, air mix, and orifice sizing.
Run the oven at a moderate bake setting and allow it to reach the set temperature and cycle on and off several times. A slight odour on first heat-up is normal as oils burn off internal surfaces; run the hood fan and open a window if practical. Place a simple oven thermometer in the centre of the middle rack and compare its reading with the display once the temperature has stabilised. Many electronic controls allow a small offset adjustment if the oven consistently runs hotter or cooler than indicated.
Check broil operation briefly and confirm that the flame pattern is even along the burner. If your model provides convection, enable that mode and listen for a smooth fan tone without scraping or rattling. During these tests, touch nearby cabinet faces and trim carefully; they should become warm but not uncomfortable. If they feel excessively hot, re-check installation clearances and ensure vents and cooling slots are not blocked.
Record Model, Serial, and Regulator Data
Once the appliance has passed basic checks, record its key details for future reference. Photograph the rating label showing model and serial number, the visible path of the gas connector, the regulator orientation, and the location of the shutoff valve. Note the installation date, fuel type, and any conversion work completed by a professional in a small log. Keep this information together with the user manual, installation instructions, anti-tip template, and spare screws in a labelled envelope or folder near the appliance so future service is faster and more accurate.
Final Installation Checklist and Avoiding Common Gas Range Mistakes
A structured checklist reduces the chance of missing a critical step. Use the following commissioning checklist before considering the installation complete:
- Range chassis is level left-to-right and front-to-back; grates sit flat; oven door seals evenly around the gasket.
- Anti-tip bracket is installed in a solid surface, rear leg is engaged, and a gentle pull test confirms that the range does not tip.
- All gas joints that were assembled are dry on leak-solution tests; the regulator is present, correctly oriented, and accessible; the flexible connector is routed in a smooth curve without kinks or contact with sharp edges.
- Each surface burner ignites promptly, holds a stable blue flame from high to low, and does not lift off or flash back; the oven heats, cycles, broils, and (where provided) operates in convection mode without abnormal noises.
- Surrounding cabinets, walls, and trims reach only moderate warmth during sustained oven use; ventilation is effective in clearing steam and cooking vapours.
Several recurring errors cause problems during or after installation. Pushing the appliance so far back that it compresses or sharply bends the gas connector or power cord can lead to leaks or electrical faults. Leaving the manual shutoff valve trapped behind fixed panels prevents safe isolation in an emergency. Omitting the anti-tip bracket because the range feels heavy leaves the appliance vulnerable to tipping when the door is loaded. Applying thread sealant to flare connections can prevent proper metal-to-metal sealing. Ignoring unusual flame colour, persistent odours, or cabinet surfaces that feel too hot can allow minor installation issues to become safety concerns over time.
FAQ
Do I need a permit to install a gas range?
In many areas a permit and inspection are required for gas work, especially if you are modifying fixed piping. Check with your local authority before starting.
Can I reuse an old flexible gas connector from my previous range?
No, flexible connectors should not be reused; install a new connector that is rated for the appliance and fuel type.
Is it safe to install a gas range myself?
You can handle basic placement, levelling, and connection if local rules allow and you follow the manufacturer’s instructions closely, but any work on fixed gas piping or fuel conversion should be done by a licensed gas fitter or qualified technician.
How far should the range be from cabinets and a hood?
Follow the clearances in the installation manual for your specific model; typical minimums are about 24–30 inches from the cooking surface to the hood or cabinet bottom.
What should I do if I smell gas during installation?
Close the shutoff valve if it is safe to do so, ventilate the area, avoid operating electrical switches, and contact a gas utility or qualified technician immediately.
Sources
- CSA Group – Natural Gas And Propane Installation Code (CSA B149.1).
- Standards Council Of Canada – Natural Gas And Propane Installation Code.
- Technical Standards And Safety Authority (TSSA) – Fuels Safety And Field Approvals.
- Whirlpool – Installation Instructions For Freestanding Gas Ranges.


