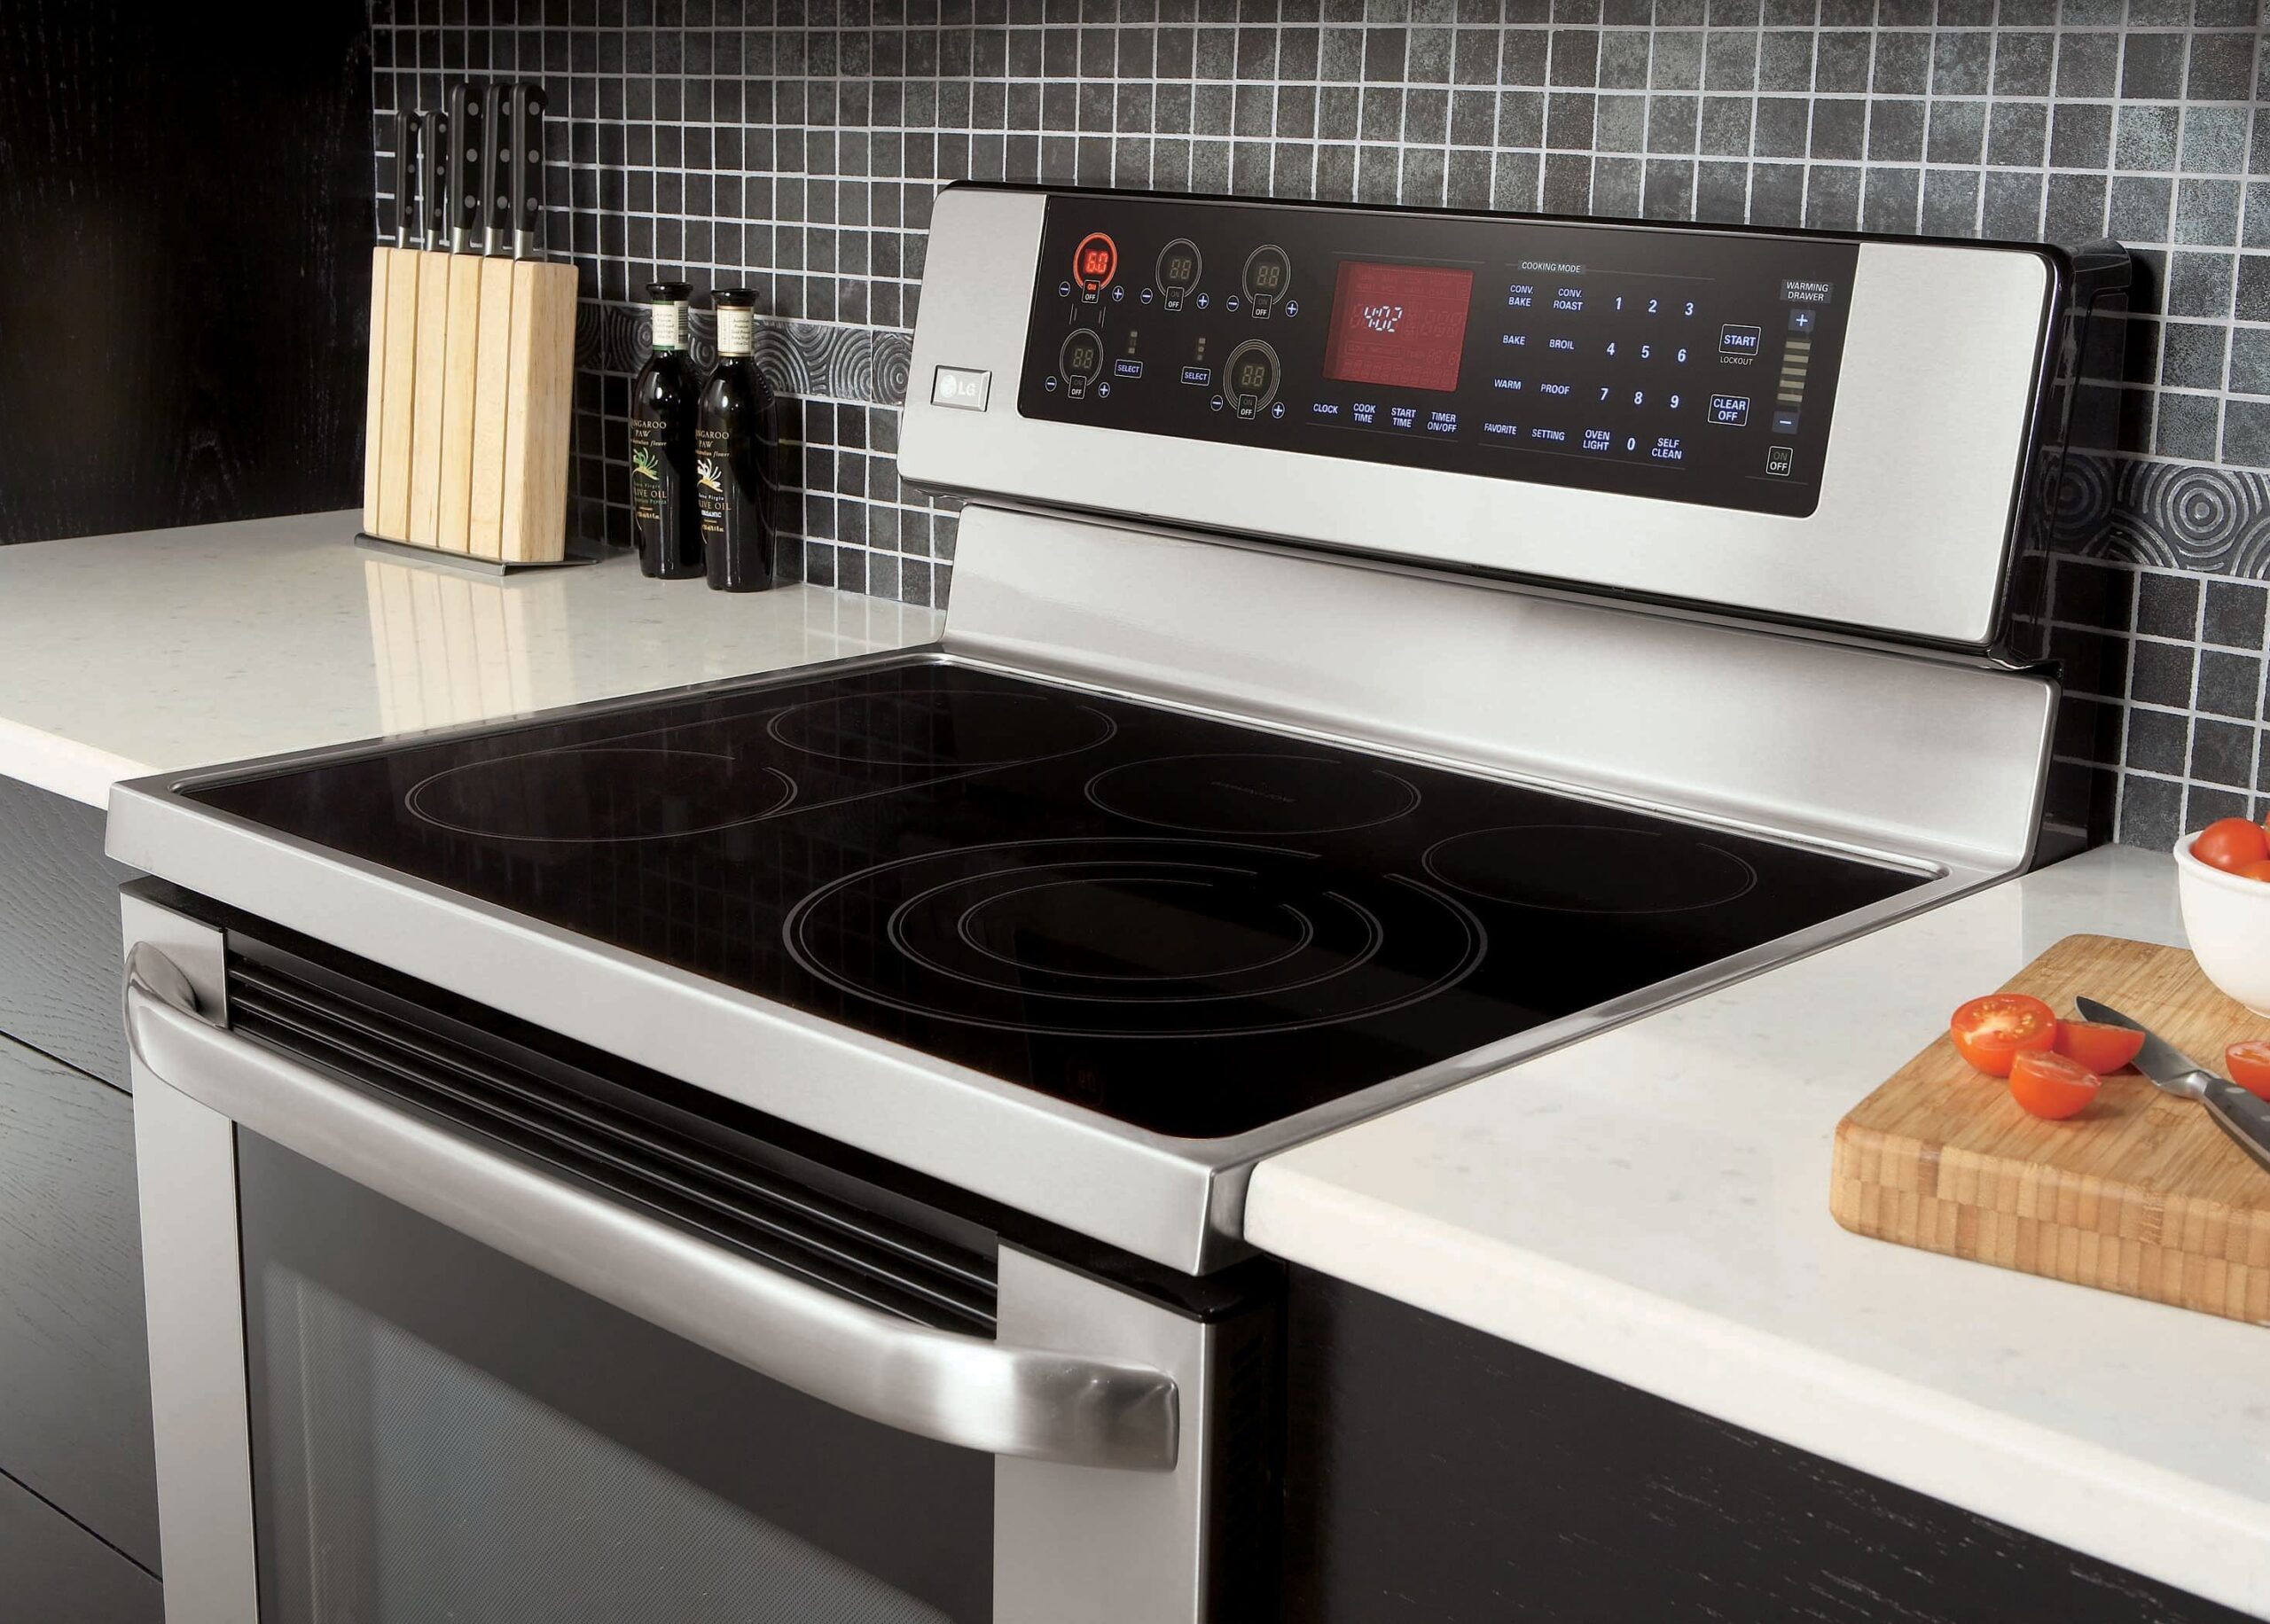
Installing a new electric range is a project that allows homeowners to upgrade their kitchen capabilities with careful planning and the right approach. While the process involves working with heavy appliances and high-voltage electricity, it is manageable when broken down into logical stages. The goal is to ensure the appliance fits perfectly within the cabinetry, connects safely to the dedicated power supply, and operates efficiently for years of cooking. This guide details the essential steps to get the job done right, from the initial measurements to the final heat test, ensuring safety remains the priority throughout the process.
Planning The Space And Electrical Requirements
Before moving the heavy appliance into the kitchen, you must confirm that the electrical infrastructure can support the new load. Most residential electric ranges operate on a 120/240 V, 60 Hz supply. This requires a dedicated circuit, meaning the range does not share its power source with the dishwasher, fridge, or any other device. The first task is to locate the rating label on your new appliance, usually found on the frame behind the drawer or inside the oven door, to verify the amperage requirements.
Electrical codes in this region are strict regarding conductor sizes and breaker ratings to prevent overheating. If you are replacing an older unit, do not assume the existing wiring is sufficient for a modern, high-performance induction or convection range. You must match the breaker size and wire gauge to the specific demands of the new model.
Use the following table as a general guideline for matching power requirements to cable sizes, but always prioritize the manufacturer’s specific data plate:
| Nameplate Rating (Amps) | Recommended Breaker Size | Minimum Copper Wire Gauge (AWG) |
| 30 A – 34 A | 40 A | 8 AWG |
| 35 A – 40 A | 40 A or 50 A | 8 AWG (for 40 A) or 6 AWG (for 50 A) |
| 41 A – 48 A | 50 A | 6 AWG |
| 49 A – 55 A | 60 A | 6 AWG or 4 AWG |
Verifying The Power Supply
Head to your electrical panel and identify the two-pole breaker that controls the range circuit. It should look like two switches tied together. Ensure the breaker handles move freely and click firmly into the on and off positions. If you notice the existing wiring in the receptacle box is aluminium rather than copper, special care is required. Aluminium wiring requires specific anti-oxidant compounds and connectors rated for AL/CU use. If you are unsure about the condition of the wiring inside the wall, consulting a certified electrician is a wise investment to prevent fire hazards.
Measuring Clearances And Preparing The Path
Accuracy is vital when preparing the opening. A range that fits too tightly can damage cabinet sides, while large gaps can lead to food spills dripping down the sides. You need to measure the width of the opening at both the countertop level and the floor level. Often, cabinets settle over time, making the bottom narrower than the top.
You must also verify clearances for the “danger zone” directly above the cooking surface. Standard safety regulations require a specific distance between the cooktop and any combustible material, such as wooden cabinets or a range hood. This is typically a minimum of 762 millimetres (30 inches), but you should check the installation manual for the exact specification. Additionally, check that the path from your entry door to the kitchen is clear of obstacles. Measure all doorways and tight corners to ensure the appliance can pass through without scratching the finish or damaging door frames.
Check these critical dimensions before unboxing the unit:
-
Opening Width: Measure at the front and back of the cabinet cut-out to ensure the range will slide in without binding.
-
Countertop Height: Distance from the floor to the top of the counter (standard is usually 914 millimetres).
-
Depth Clearance: Distance from the front of the cabinet to the back wall, accounting for the gas stub or electrical receptacle space.
-
Upper Clearance: Minimum vertical distance from the cooktop surface to the bottom of the upper cabinet or range hood.
-
Door Swing: Sufficient space in front of the range to fully open the oven door without hitting an island or opposite counter.
Positioning And Levelling The Appliance
Once the range is unpacked, remove all internal racks, tape, and packaging materials. This reduces the weight you have to move. Before sliding the unit into place, you must install the anti-tip bracket. This is a critical safety device that secures the rear leg of the range to the floor or wall. Without it, a heavy weight placed on the open oven door—like a large turkey or a child climbing up—could cause the entire appliance to tip forward, resulting in severe injury.
Locate the template included with the bracket to find the correct position. Drill pilot holes into the floor or wall stud and secure the bracket with the heavy-duty screws provided.
Next, attach the levelling legs to the bottom corners of the range. Place a spirit level diagonally across the rack inside the oven. Adjust the legs by turning them clockwise or counter-clockwise until the bubble is perfectly centred. A level oven is necessary for baking batters evenly; if the unit tilts, cakes will be higher on one side. Once level, slide the range partially into the opening, leaving enough room behind it to work on the electrical connection comfortably.
Connecting The Wiring Safely
This stage requires your full attention. Ensure the power is turned off at the main breaker panel before handling any wires. Use a non-contact voltage tester to confirm the circuit is dead. In modern installations, you will likely encounter a 4-wire system, which is the current standard for safety. This setup separates the neutral current from the grounding path, significantly reducing the risk of shock.
Hardwired Connections Versus Cord Sets
Your range will connect either via a flexible cord plugged into a heavy-duty receptacle or by direct hardwiring into a junction box. If using a cord, you must install a strain relief connector where the cord enters the back of the range. This clamp ensures that if the range is pulled forward, the stress is placed on the metal body of the appliance rather than pulling the electrical wires out of their terminals. For hardwired setups, flexible conduit is used. You must connect the wires inside the junction box using wire nuts that are the correct size for the gauge of wire you are using.
The Importance Of Neutral And Ground Separation
In a standard 4-wire connection, you will see four colour-coded terminals or wires: Black (Hot), Red (Hot), White (Neutral), and Green or Bare (Ground). It is imperative that the neutral white wire and the green ground wire remain isolated from each other at the appliance.
Most ranges are shipped with a copper bonding strap connecting the neutral terminal to the metal frame. For a 4-wire installation, you must remove or cut this strap. If you fail to remove this link, you negate the safety benefit of the separate ground wire. Connect the white wire to the centre neutral terminal, the red and black wires to the outer hot terminals, and the green wire to the green grounding screw on the frame.
Final Safety Inspection Before Powering Up
Loose connections are a primary cause of electrical failure and fire. When tightening the screws on the terminal block, apply firm pressure. If you have a torque screwdriver, set it to the manufacturer’s specifications (often around 3.5 to 5.6 Newton-metres).
Pull gently on each wire to ensure it is seated firmly and does not wiggle. Verify that the insulation on the wires is not pinched under the terminal plate; only the bare metal conductor should be clamped. Finally, reinstall the metal cover plate over the wiring compartment. Never operate the range without this cover in place.
Testing Performance And Maintenance
Restore power at the breaker panel. The clock on the display should blink, indicating the unit is receiving power. Now, perform a systematic check of all functions. Turn on each surface element. Coil elements should glow red within seconds; ceramic radiant elements should light up under the glass. If you have an induction cooktop, place a magnetic pan on the zone to test the heating function.
Set the oven to Bake at 175°C. You may smell a slight odour of burning oil or insulation; this is normal for the first use as factory coatings burn off. Open the window or run the hood fan to clear the air.
Use the following troubleshooting table if you encounter issues during the first test:
| Symptom | Potential Cause | Immediate Action |
| Display does not turn on | Breaker tripped or loose wiring | Check the panel; verify terminal block connections. |
| Cooktop works, oven does not | Incorrect voltage (120V only) | Check for a loose red or black wire connection. |
| Oven light works, no heat | Demo mode active | Consult manual to disable retail Demo mode. |
| Steam or condensation inside door | Vents blocked | Ensure floor/wall vents are not obstructed by trim. |
Once the oven reaches temperature, verify that the heat feels even. If everything is functioning correctly, gently slide the range the rest of the way into the opening until the rear leg engages with the anti-tip bracket.
Perform these final commissioning checks to complete the installation:
-
Anti-Tip Engagement: pull gently on the top rear edge of the range to ensure the bracket stops it from tipping.
-
Clearance Check: ensure the oven door opens fully without rubbing against adjacent drawers or cabinet handles.
-
Level Re-check: place the spirit level on the cooktop one last time to ensure sliding the unit didn’t shift the feet.
-
Manual Storage: keep the installation guide and the anti-tip template in a safe place for future reference.
FAQ
Do I need a dedicated circuit for an electric range?
Yes, an electric range should be on its own two-pole breaker and circuit sized according to the rating label and the installation manual.
Can I reuse an old three-wire connection for a new range?
Only if the manufacturer explicitly allows it and local electrical rules permit it; otherwise a four-wire connection with a separate bonding conductor is required.
Can I install an electric range myself?
You can handle the positioning, levelling, and anti-tip bracket if you are comfortable with tools, but electrical work beyond simple cord replacement may require a licensed electrician.
How far should cabinets and walls be from the range?
Follow the clearances in the installation manual for side, rear, and overhead spacing, as these distances are tested for safe temperatures.
Why is the anti-tip bracket so important?
The anti-tip bracket prevents the range from tipping forward if someone leans on the open door or a heavy pot is placed on it.
Why does my new range smell during the first use?
Light odours during the first few heating cycles are normal as manufacturing oils burn off; use the hood fan and open a window to ventilate.
Sources
- Canadian Electrical Code, Part I (CSA C22.1) – National safety standard for electrical installations, including branch-circuit and overcurrent protection requirements for household cooking appliances.
- CSA C22.2 No. 61: Household Cooking Ranges – Product safety standard for household cooking ranges, issued under Part II of the Canadian Electrical Code by CSA Group.
- CSA Group – Electrical Standards Overview – Background on the role of CSA Group in developing and maintaining electrical safety standards for residential products and installations.


