Confirm the Fuse Is Really the Problem (Before You Open the Machine)
A blown door-circuit fuse is only one of several reasons a washer refuses to lock or unlock. Rule out simple causes first. Make sure the outlet is live by testing with a lamp or a multimeter. Inspect the power cord and breaker. Check that the door closes squarely—warped hinges or a misaligned strike can keep the interlock from engaging even when the electronics are fine.
Most modern machines will display or store an error related to the door lock. If your control panel shows a door/lock code or a cycle won’t start because “door not locked” persists, you may have either (a) a failed lock assembly, (b) damaged wiring, or (c) a tripped protective fuse. Some models never used a separate fuse for the door circuit; instead, the main control board is protected by a board-mounted fuse or electronic protection. If your service manual or parts diagram doesn’t list a distinct fuse, replacing the door-lock assembly—not a fuse—may be the correct repair.
Two fast diagnostic clues point to a fuse issue:
- The machine powers on, lights work, but any command that should trigger the lock immediately fails with no clicking sound from the latch.
- Visual inspection later reveals a small inline glass or ceramic fuse on the harness near the lock, or a replaceable fuse on the control board labeled with an amperage rating (e.g., 3.15A, 6.3A, 250V).
If water is trapped in the drum, use the emergency drain (usually behind the lower access panel) or a drain cycle before you start. Never force the door open against a powered lock.
Safety, Tools, and Choosing the Correct Replacement Fuse
Unplug the washer. You are working around mains voltage (typically 120/240 V). Allow a few minutes for capacitors on the control board to discharge. Wear cut-resistant gloves; cabinet edges are sharp. If the machine is under warranty, check terms—opening panels may transfer responsibility for the repair.
You will need only basic hand tools and a way to test continuity and resistance. A multimeter is essential; it lets you confirm the old fuse is blown and check for shorts in the lock circuit that might blow the new one instantly.
Tools and parts (use this single checklist):
- Phillips and flat-blade screwdrivers, nut driver set
- Torx driver (some manufacturers use Torx screws)
- Needle-nose pliers and small side cutters
- Multimeter with continuity and resistance ranges
- Replacement fuse matching the original’s amperage, voltage, and type (fast-acting vs time-delay/slow-blow; glass vs ceramic)
- Optional: camera/phone to record wiring positions; dielectric grease for connectors
Selecting the fuse: read the markings on the old one or confirm in the service manual/parts list. Match amperage and type exactly; voltage rating must be equal or higher. Many door-lock or control-input fuses are 250 V time-delay ceramic types because they tolerate inrush current, but models vary. Never “upsize” the fuse or bypass it with foil or a solid wire—this defeats a safety device and risks board damage or fire.
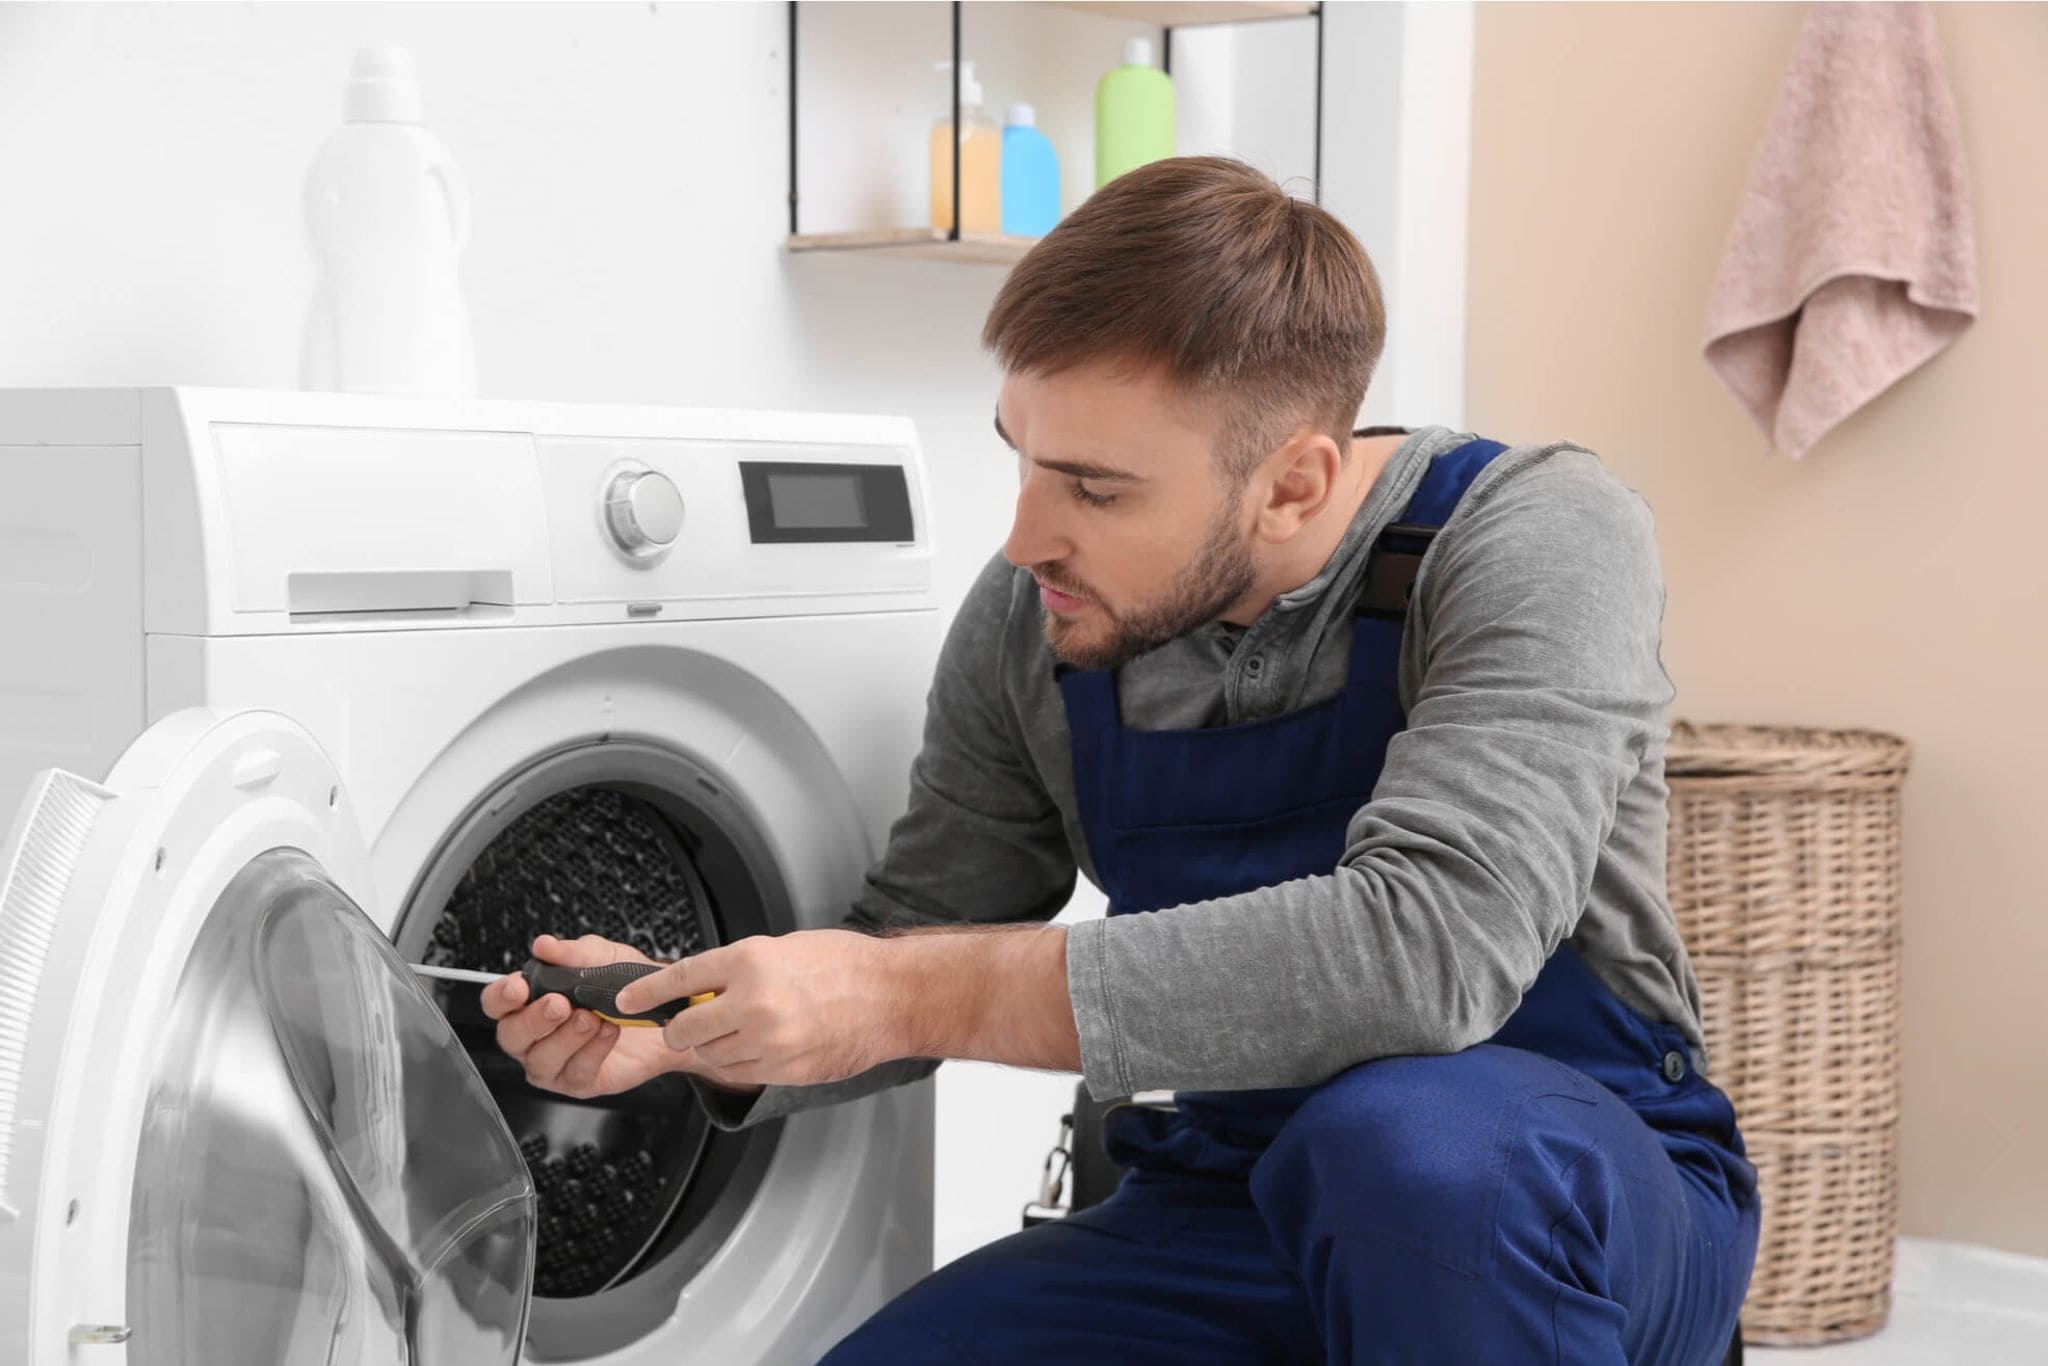
Access, Test, and Replace the Fuse Step by Step
Washer cabinets differ, but the general approach is consistent whether the fuse sits inline near the lock or on the main control board. Front-loaders usually grant access by removing the top panel and sometimes the front lower panel; top-loaders often require a rear panel or control-console removal. Work methodically and take photos of connectors before you unplug them.
Replacement procedure (follow in order):
- Disconnect power and turn off water supply valves. Slide the machine forward for space.
- Open the cabinet. For front-loaders, remove the top panel screws at the back, slide the panel rearward, and lift off. If needed, remove the lower kick panel to reach the interlock area. For top-loaders, remove the rear panel or tilt the control console per your model’s instructions.
- Locate the door-lock assembly and harness. Follow the wiring from the lock toward the main harness. Look for a small inline fuse holder or a board-mounted fuse near the control board labeled “FUSE,” “F1,” or similar.
- Free the fuse. For inline types, open the holder or gently pull the fuse from clip terminals using needle-nose pliers. For board-mounted cylindrical fuses, release the clips. (If your model uses a soldered fuse, board-level work is required—stop here unless you’re trained for electronics repair.)
- Meter test. Set the multimeter to continuity or the lowest ohms range. A good fuse reads near 0 Ω/continuous beep; a blown fuse reads open/infinite. Confirm the old fuse is truly blown.
- Check for root cause. With the machine still unplugged, test the lock coil or actuator across its two terminals; most healthy lock coils read tens to a few hundred ohms (varies by design). A reading of ~0 Ω (short) or ∞ (open) indicates a failed lock that probably caused the fuse to blow. Inspect the harness for scuffs, crushed insulation, or corrosion near the latch (moisture ingress is common).
- Install the new fuse with the same ratings and type. Seat it firmly in the clips/holder—loose tension causes heat and early failure. If you found a shorted lock or damaged wiring, replace or repair those parts before installing the fuse, or the new fuse may pop immediately.
- Reassemble panels carefully, ensuring no wires are pinched under metal flanges. Restore water and power.
- Functional test. Start a quick cycle to command a lock. Listen for the latch click. If the machine starts and the door locks and later unlocks normally, the repair succeeded. If the fuse blows again instantly, disconnect power and re-diagnose the lock, harness, and board.
If your model stores fault codes, you can clear them by completing a full cycle or by using the built-in diagnostic mode described in the service manual. Avoid “reset” tricks found online that short pins or force unlatching—these can damage the control board.
Post-Repair Checks and When to Call a Professional
A blown fuse is a symptom, not a root cause. After replacement, monitor the next few washes. Random, repeat fuse failures usually mean a stressed lock actuator, a chafed wire intermittently shorting to the cabinet, or moisture reaching the lock. If the boot/seal is torn, replace it to keep humidity away from the latch area. If vibrations are excessive during spin, level the machine; hard vibrations increase wire fatigue at the door-lock connector.
Parts cost is modest: individual fuses are inexpensive, and even an entire lock assembly is usually far less than a control board. Time on task ranges from 30 to 90 minutes for most DIYers. Board-mounted, soldered fuses or evidence of burnt traces warrant a professional’s bench repair or board replacement.
Know your limits. If any of the following is true, stop and bring in a technician:
- The fuse is soldered to the PCB and you don’t do board-level work.
- The new fuse immediately fails and meter readings suggest a short on the board rather than in the lock or harness.
- You find heat damage, arcing marks, or melted connectors.
Prevention tips: keep the door area dry, avoid slamming the door (impact can crack the lock housing), and don’t overload the drum—overload shock forces transmit to the lock and its wiring. During seasonal deep-cleans, remove lint and detergent residue from the latch and strike so the mechanism engages smoothly.
Author’s note: This guide was prepared by a writer–editor working with an appliance repair specialist. Steps emphasize electrical safety, model-specific verification, and exact-match parts selection. Never bypass protective devices, and always consult the service manual for your model.


