A malfunctioning thermostat is one of the most common causes of drying problems in commercial Cissell dryers. If the dryer runs too hot, fails to heat, or stops mid-cycle, the thermostat might be to blame. Understanding how to check and replace it correctly is essential for maintaining reliable performance and extending the life of your machine.
Understanding the Role of the Thermostat in Cissell Dryers
The thermostat in a Cissell dryer monitors internal air temperature. It regulates heating cycles by signaling the heating element to turn on or off based on temperature readings. This control prevents overheating and ensures fabrics are dried evenly and safely.
Cissell dryers typically feature several thermostats:
-
High-limit thermostat — prevents the dryer from exceeding safe temperatures.
-
Operating thermostat — controls the cycling of the heating element for efficient drying.
-
Safety thermostat (thermal fuse) — acts as a fail-safe that disables heating if the dryer overheats.
When a thermostat malfunctions, the dryer may:
-
Fail to produce heat.
-
Run excessively hot.
-
Stop unexpectedly.
-
Require longer cycles to dry clothes.
Signs That Your Cissell Dryer Thermostat May Need Replacement
Recognizing early symptoms of a faulty thermostat can prevent more severe problems and costly downtime. Watch for the following indicators:
-
No Heat Production
If your dryer runs but produces no heat, the thermostat might be stuck in an open state, preventing the heating element from activating. -
Overheating
An overheating dryer often signals that the high-limit thermostat is defective or that lint buildup is causing poor airflow, triggering thermostat failure. -
Intermittent Drying
If drying cycles stop prematurely or heat is inconsistent, the operating thermostat may be failing to regulate temperature properly. -
Blown Thermal Fuse
A blown thermal fuse frequently results from an overheating event caused by a malfunctioning thermostat.
Tools and Materials You’ll Need
Before inspecting or replacing the thermostat, gather the following tools:
-
Multimeter (with continuity test function)
-
Phillips screwdriver
-
Flathead screwdriver
-
Nut driver or socket set (depending on dryer model)
-
Replacement thermostat kit (Cissell OEM parts recommended)
-
Vacuum or compressed air (for cleaning)
-
Work gloves
Always disconnect power to the dryer before performing any repairs.
How to Check the Thermostat in Your Cissell Dryer
Proper diagnosis ensures that you only replace components that truly require it. Here’s how to test a thermostat using a multimeter:
Step 1: Access the Thermostat
-
Unplug the dryer from the power source.
-
Remove the back panel or front lower access panel (depending on your Cissell model) using a screwdriver or nut driver.
-
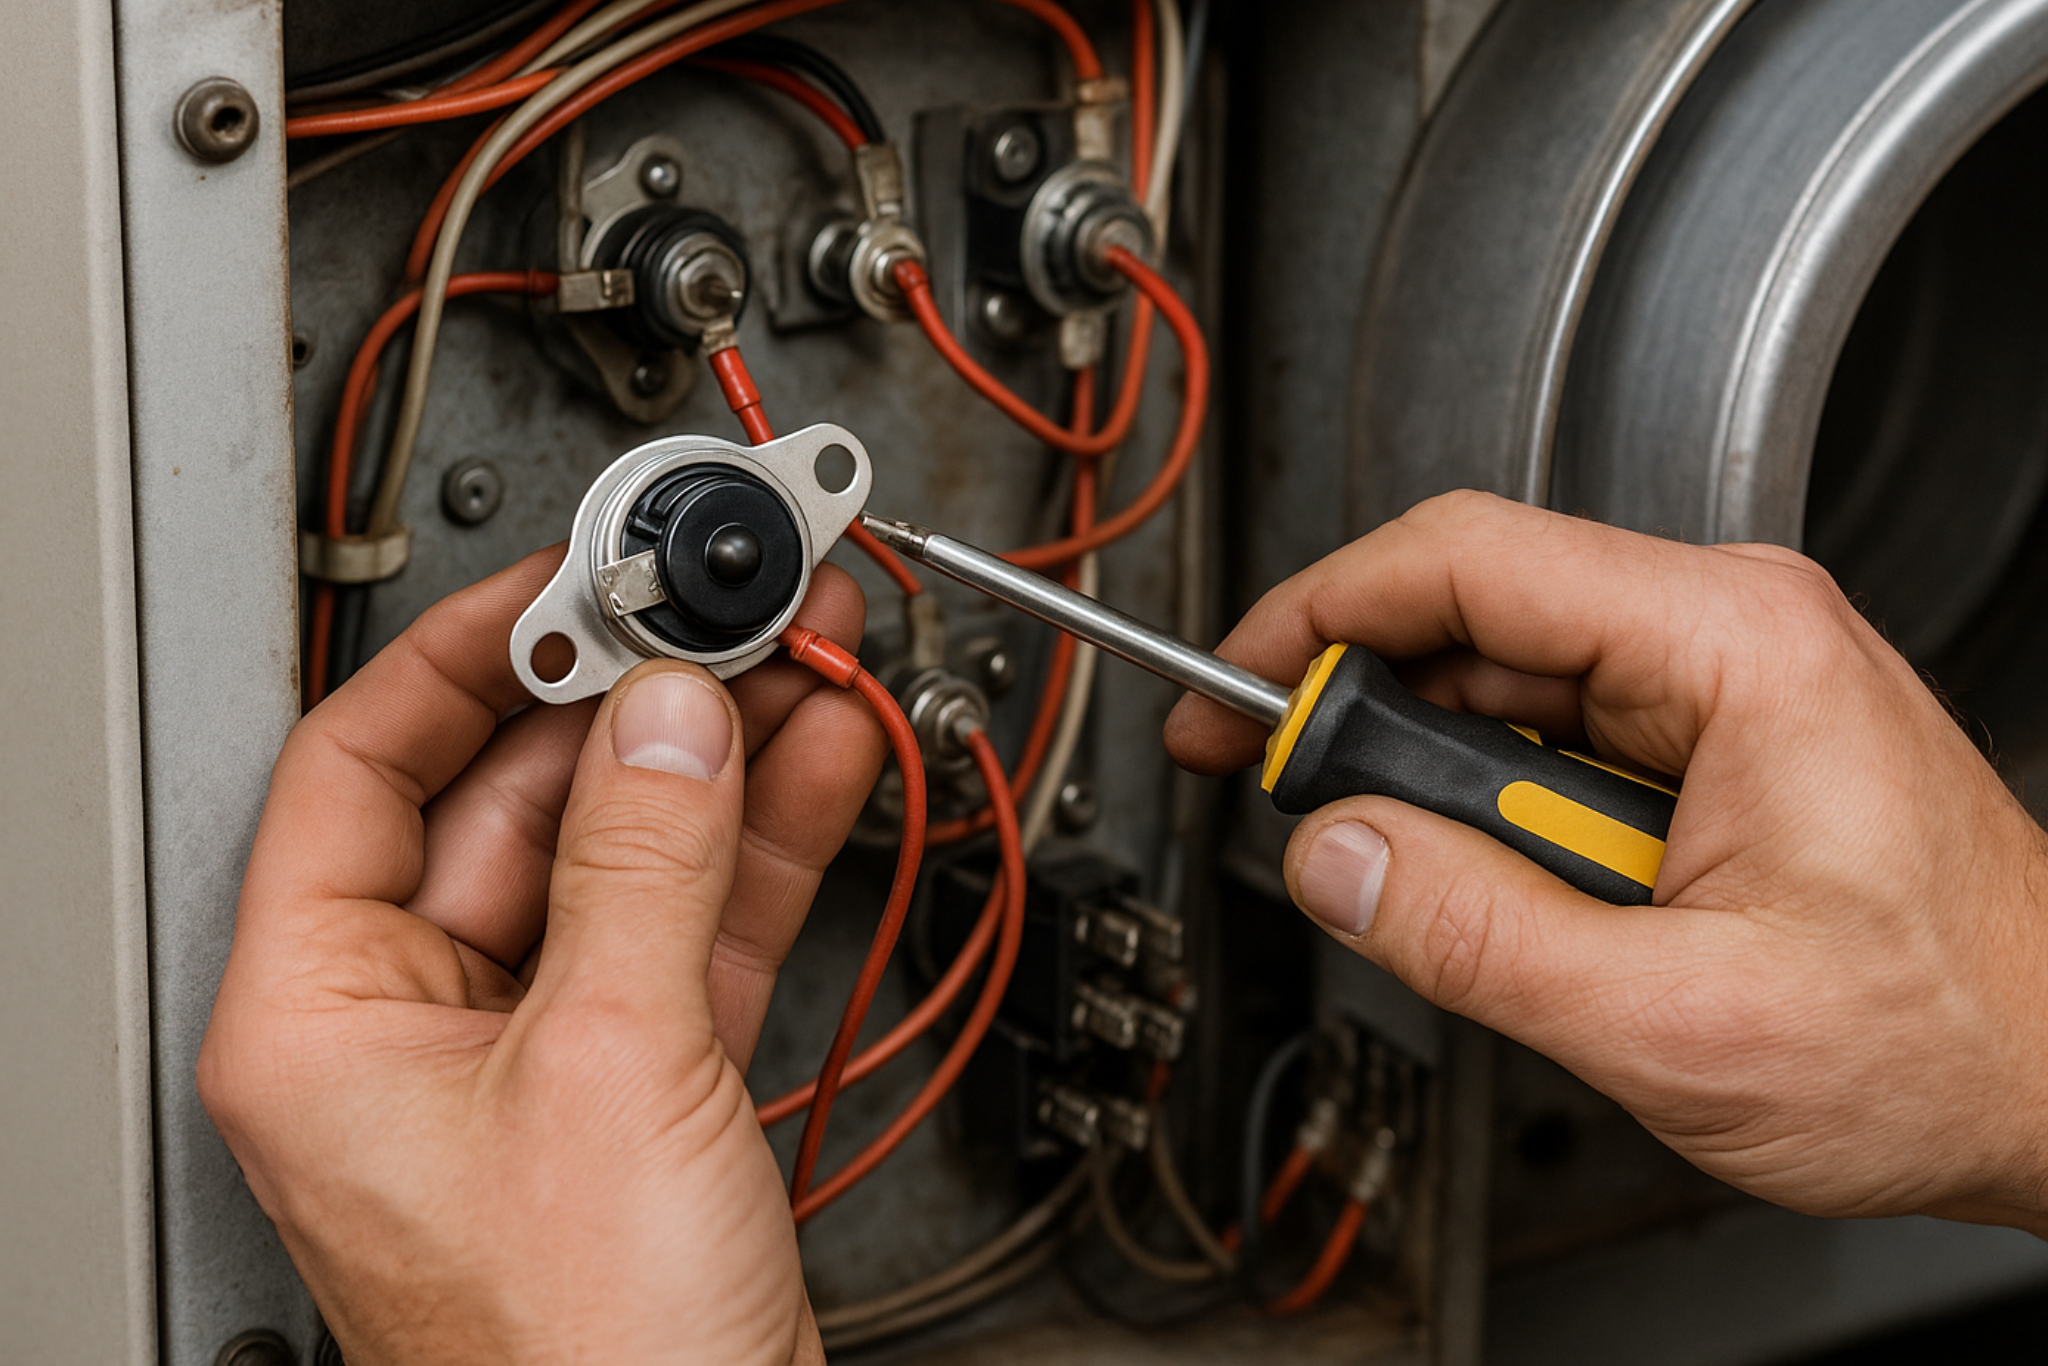
Locate the thermostat(s). They are typically mounted on or near the blower housing or heating element assembly.
Step 2: Remove the Thermostat Wires
-
Take note of the wire configuration or take a photo for reference.
-
Disconnect the wires from the thermostat terminals.
Step 3: Test for Continuity
-
Set your multimeter to the continuity or ohms setting.
-
Touch the multimeter probes to the thermostat terminals.
-
A properly functioning thermostat should show continuity (0 to a few ohms resistance) at room temperature for the operating thermostat and no continuity if it is a normally open high-limit thermostat at rest.
If the multimeter shows no continuity where there should be, or continuity where there should not be, the thermostat is faulty and needs replacement.
How to Replace a Faulty Thermostat in a Cissell Dryer
Once you’ve confirmed that a thermostat is defective, follow these steps to replace it:
Step 1: Acquire the Correct Replacement Part
-
Identify your dryer’s model number (located on the machine’s data plate).
-
Order an OEM replacement thermostat for your specific model.
-
Using OEM parts ensures proper fit and performance.
Step 2: Remove the Faulty Thermostat
-
Disconnect the dryer from the power source if not already done.
-
Remove the access panel and locate the faulty thermostat.
-
Disconnect the wiring harness connected to the thermostat.
-
Unscrew the thermostat from its mounting bracket.
Step 3: Install the New Thermostat
-
Position the new thermostat in place.
-
Secure it with screws or mounting clips.
-
Reconnect the wiring according to your earlier photo or notes.
-
Inspect the surrounding area for lint or debris and clean as needed.
Step 4: Test the Dryer
-
Reassemble the access panel.
-
Plug the dryer back in.
-
Run a test cycle to verify correct operation.
If the dryer heats and cycles normally without overheating or shutting down, the replacement was successful.
Preventing Future Thermostat Failures
Proper maintenance helps extend the lifespan of your dryer’s thermostat and other components. Incorporate these best practices into your routine:
-
Clean the lint filter after every load to promote proper airflow.
-
Inspect and clean dryer vents regularly to prevent restricted airflow that can lead to overheating.
-
Schedule professional maintenance to check internal components and clean areas not easily accessible.
-
Monitor load sizes and avoid overloading the dryer, which strains the heating system.
When to Call a Professional
While checking and replacing a thermostat is a manageable task for those comfortable with basic appliance repair, certain situations warrant professional service:
-
You are unsure about working with electrical components.
-
The dryer exhibits multiple problems beyond the thermostat.
-
Repeated overheating issues persist even after replacement.
-
You want a full diagnostic to rule out other possible faults (such as faulty heating elements or control board issues).
Maintaining proper thermostat function is essential for safe and efficient dryer operation. Regular inspection, proactive maintenance, and timely replacement of defective thermostats ensure your Cissell dryer continues to deliver optimal performance.
Following these professional guidelines empowers you to diagnose and resolve common thermostat issues confidently. When in doubt, trusted appliance repair specialists are always available to assist and provide comprehensive service.


