Consultant: Robert Hennessy — holds a Certificate of Qualification in Appliance Service Technician issued by the Ontario College of Trades, with 18 years of field experience servicing major residential appliance brands across Ontario and British Columbia.
⚠️ Before You Start
This article covers electric washing machines only. If your unit connects to a gas supply, do not attempt any repairs yourself — contact a licensed gas technician.
Washing machine repairs involve water connections and electrical components. If your appliance is still under warranty, or if any step goes beyond your comfort level, contact a certified appliance technician before proceeding.
Modern high-efficiency (HE) washing machines sold in Canada — front-loaders and most HE top-loaders made after roughly 2010 — do not offer a manual water level dial. The machine decides how much water the load needs by measuring air pressure inside a small sealed chamber connected to the tub. As water rises, air in the chamber compresses, and a pressure sensor reads that change to signal the control board when to close the water inlet valve.
 When that system drifts, you end up with clothes sitting in five inches of water or a drum threatening to overflow. Use the table below to match what you are seeing to the most likely cause, then go to the relevant section.
| Symptom | Most likely cause | Where to start |
|---|---|---|
| Too little water, no error code | Blocked hose or air dome | Finding and Fixing the Pressure Hose |
| Too little water, error code (Samsung 4E / LG IE / Whirlpool F8 E1) | Hose first, sensor second | Finding and Fixing the Pressure Hose |
| Overfilling | Pressure switch stuck open | Testing the Pressure Switch |
| Multiple erratic symptoms, random or mismatched error codes | Control board | When the Control Board Is Involved |
Why the Sensing System Fails
The most common reason is a blocked or cracked pressure hose. The hose runs from a small fitting on the tub — called the air dome — up to the pressure switch mounted on the cabinet wall. Robert Hennessy, a certified appliance technician with 18 years of field experience across Ontario and British Columbia, says that in his service calls, roughly six in ten wrong-water-level complaints trace directly to this hose. The switch and the control board account for most of the rest.
Hard water accelerates the problem. Mineral deposits build up inside the hose and inside the air dome, narrowing the air passage and causing the sensor to read higher pressure than is actually present — which cuts the water supply short before the load is properly submerged. In parts of Ontario with documented hard water, including the Hamilton and Guelph areas where hardness regularly exceeds 200 mg/L, this buildup can become significant within 18 months rather than the two-to-three year interval typical for softer-water regions (Natural Resources Canada, 2022).
In machines over seven years old, the hose inner diameter can narrow from deposits even without a visible blockage, producing a slow drift that never triggers an error code. The machine runs through its cycles; it just cleans poorly.
Finding and Fixing the Pressure Hose
Unplug the machine from the wall before touching anything inside. Pull it away from the wall and remove the access panel. On most top-loaders this is the rear panel. On front-loaders, the location depends on the brand — Samsung front-loaders typically use the lower front panel, while LG and Whirlpool front-loaders are more often accessed from the top panel.
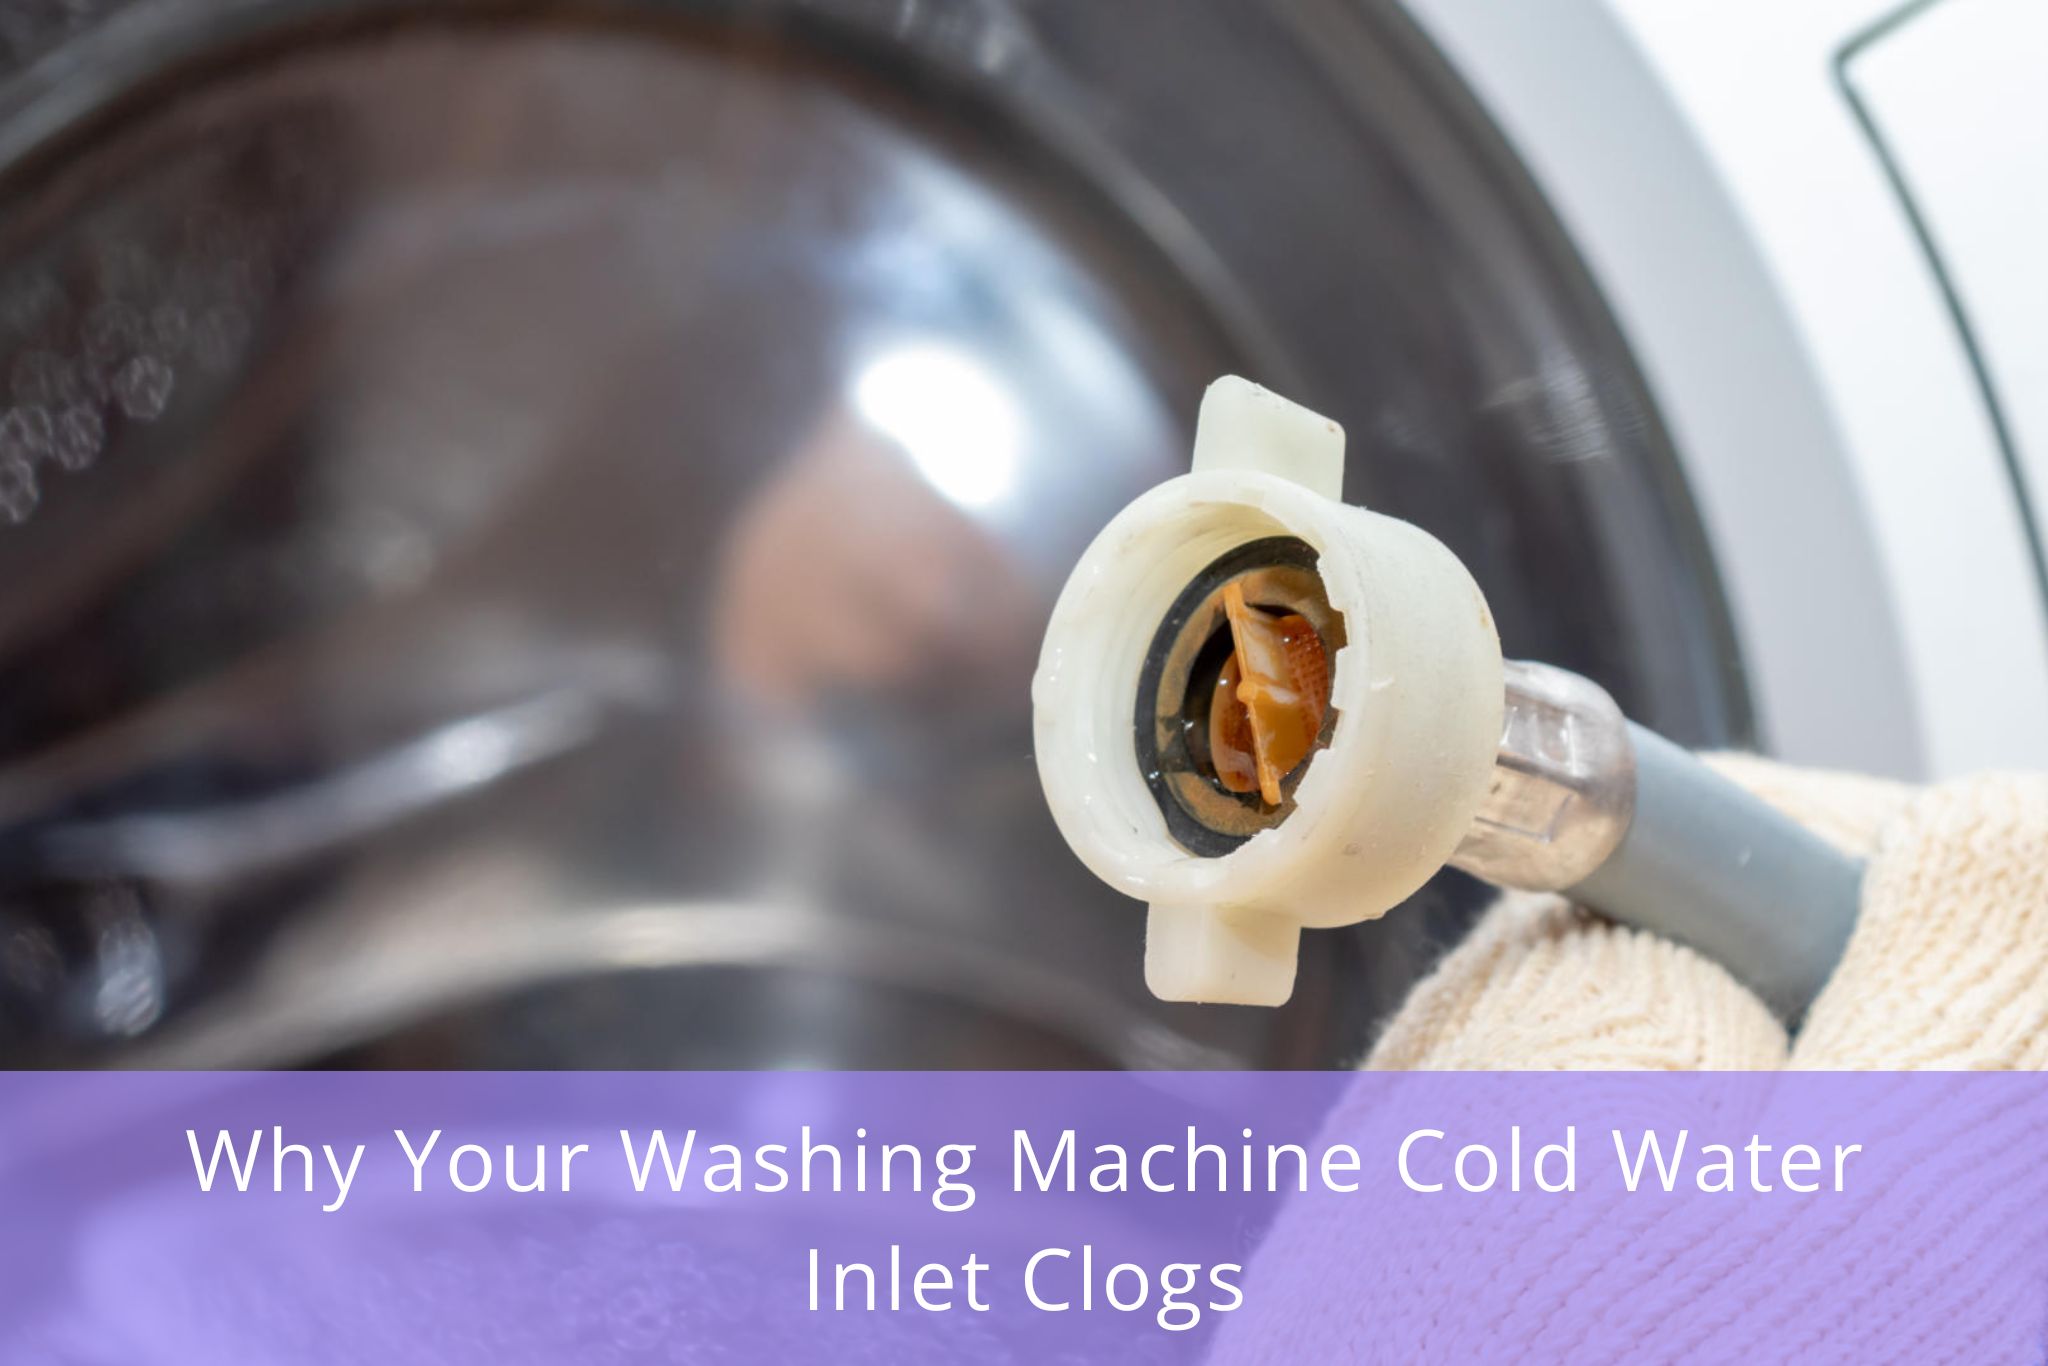
Once inside, find the pressure switch — a small round or rectangular component on the cabinet side wall, with one thin hose running down toward the tub. Check the hose for cracks, kinks, or any point where it has pulled away from a fitting. A split at the tub fitting is especially common after years of vibration and easy to miss without pulling the hose forward.
Cleaning a Blocked Hose
Detach the hose from both ends. Flush it under warm running water. If you see chalky white deposits inside, soak it in equal parts white vinegar and water for 30 minutes, then rinse. Do the same with the air dome fitting using a damp cloth or a cotton swab — avoid anything sharp, since the dome needs to remain fully sealed to give the sensor accurate readings.
One caution specific to Samsung front-loaders: on several models, including the WF45 and WF50 series, the air dome fitting sits on the lower front of the tub in a position that is not reachable without partially sliding the drum forward. If you own a Samsung front-loader and cannot locate the air dome after removing the lower front panel, do not force access — a certified appliance technician with Samsung service experience will have the correct procedure for your model. Attempting to reach the fitting blind risks damaging the drum seal or the door boot.
Replacing a Damaged Hose
A hose that has cracked or stiffened needs replacing, not patching. Replacement hoses for Whirlpool, LG, Samsung, and GE machines are available from Canadian appliance parts suppliers and typically cost under $20 (as of March 2026). Match the part to your machine’s model number, printed on a label inside the door frame or on the back panel. After reassembly, run two or three bath towels on a normal cycle and watch the fill — a water level that reaches mid-drum confirms the system is reading correctly again.
Testing the Pressure Switch
Before this step: confirm the machine is unplugged. What follows is a continuity test only — it must never be performed on a live machine.
If cleaning the hose does not resolve the problem, test the pressure switch with a multimeter — a handheld device that measures electrical continuity — set to continuity mode. With the hose detached from the switch, blow gently into the hose port while touching the multimeter probes to the switch terminals. A working switch will click and change its continuity reading as pressure changes. No click, no change means the switch has failed.
Replacement switches are inexpensive, typically $15 to $50 depending on the brand (as of March 2026). Replacing one means removing two or three wire connectors and a single mounting screw. Photograph the wire positions before disconnecting anything. If you are not comfortable handling wiring connectors, this is a sensible point to contact a certified appliance technician — the remaining steps move into territory that warrants professional appliance repair.
When the Control Board Is Involved
If both the hose and the switch test fine, the fault may lie in the electronic control board that interprets the sensor’s signal and controls the inlet valve. Control board problems rarely show up as one isolated symptom — wrong water level combined with random cycle interruptions, incorrect temperature, or error codes that do not match any visible fault is the more typical picture.
Diagnosing a control board requires a manufacturer service tool that authorized repair shops carry; it pulls fault codes that identify the board directly and avoids a costly guess. The boards themselves range from $80 to over $300 depending on the model (as of March 2026), and on machines fewer than ten years old, extended parts coverage sometimes applies — check your warranty paperwork before paying out of pocket. Incorrect installation can also damage connected components, which is why this repair sits firmly in professional territory.
Do not attempt to dry or clean a control board without direct experience in electronics repair. Moisture and improper handling cause permanent damage.
Wrong automatic water level is traceable to the pressure sensing system in the vast majority of cases, and most of the time a blocked or cracked hose is all that needs attention. Working through the components in order — hose and air dome first, then the pressure switch, then the control board — keeps you from replacing parts that are still working. Once the repair reaches live wiring or an expensive control board, a certified appliance technician is the right call.
Frequently Asked Questions
Can the machine overfill if the pressure switch fails completely?
Yes. If the switch fails in the open position, the control board may never receive the signal to close the inlet valve. Most modern machines have a secondary overflow float as a backup, but that is a last resort — not a substitute for a functioning pressure switch. If your tub has ever filled past the drum seal, have the switch tested before running another load.
How does hard water affect how often I should inspect the hose?
In softer-water areas, every two to three years is reasonable. In high-hardness regions such as southern Ontario, shortening that interval to 18 months is more practical.
Will chronic wrong water level damage the machine over time?
Yes, in both directions. Chronic underfilling leaves detergent residue on drum components and allows unbalanced loads to run uncorrected, which accelerates mechanical wear. Chronic overfilling stresses the door seal and can allow water to reach the motor housing and control board. Either pattern shortens the machine’s service life — and neither one announces itself with an obvious error code until the damage is already done.
Is a power reset worth trying before I open the machine?
Worth trying first. Disconnect the machine from power for 10 to 15 minutes, then run a test load.
How do I know if my model has a manual water level option I have missed?
Check the owner’s manual using your model number on the manufacturer’s website. HE machines manufactured after roughly 2010 removed the manual water level dial in favour of automatic load sensing, so if the manual shows no such control, the machine handles water level entirely on its own. If you cannot locate your manual, the model number on the door frame or rear panel will bring it up on the manufacturer’s support page.